Self watering pots can be a great way to grow micros.
Self-watering pots are a pot in a pot. The inner pot is perforated and elevated off the floor of the outer water-tight pot to form a reservoir below. Either the inner pot has a wick to bring water from the reservoir up into the grow medium OR the inner pot has a small perforated area that extends downward into the reservoir, and capillary action of the grow-medium wicks water up to the roots.


Micro Grows
Micro grows are a way to grow small plants in a small container. By providing the plant with a smaller root-zone, the plant stays small, making this a great way to grow in a closet, cupboard, or corner of a tent. Regardless of their smaller size, they can still produce a decent amount. One can grow autos in a photo tent, or one can start photo-period plants straight on a 12/12 light cycle.
Watering
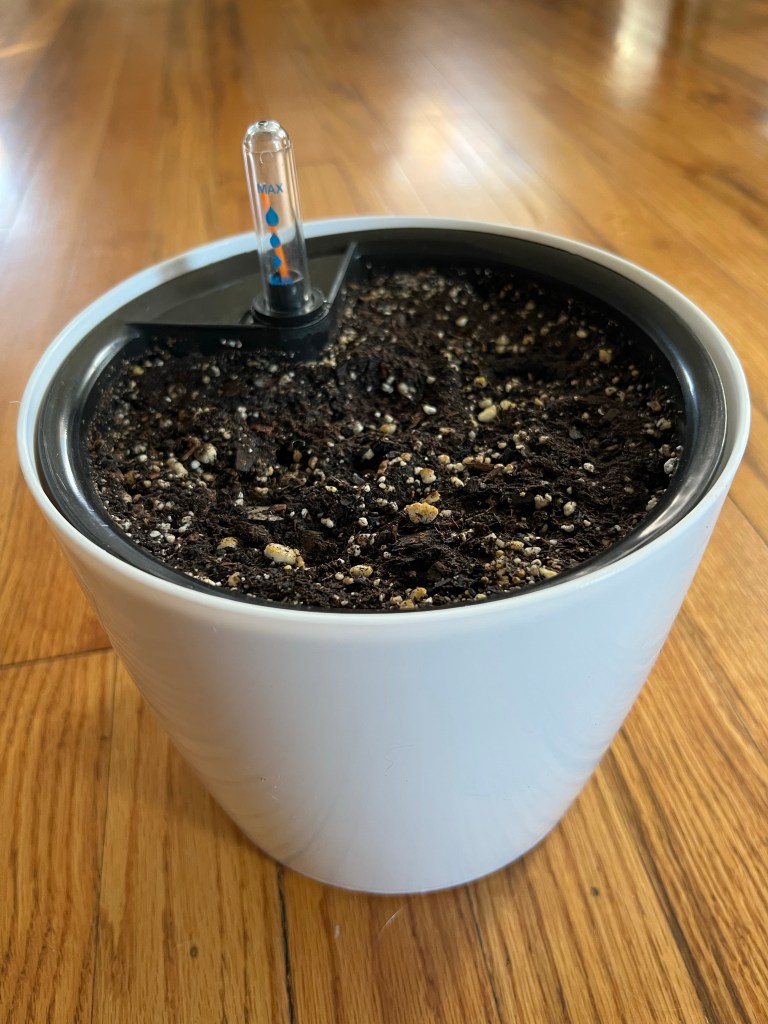
Since these are essentially pots-within-pots, you cannot see into the reservoir. They usually have either a small window to visibly check the water level of the reservoir or or they have a float that indicates the water depth. Mine have the floats. Because of this design, plants can be left for an extended time and still keep a fairly even moisture content in the medium given the wicking action from the reservoir.
Self-watering pots have a number of advantages, but take a particular approach to be successful. My first attempt at using them with autoflowers for a micro-grow crashed and burned due to using soil and keeping the it too wet initially by bottom-watering with the reservoir. Of course, this was disappointing and I was initially opposed to using them again however, I worked through my initial problems and found great success. Avoid my mistakes by following the tips below.
Six Tips for Success
- Purchase a style of pot with a decent-sized funnel for filling the reservoir and choose a dark colored version outer-pot.
- Use a good commercial potting mix for your first attempt. This will help avoid excessive bacterial growth
- Start your seedlings by only top-watering for a week or so to get seedlings established before switching to bottom-watering.
- Check your reservoirs early-on for bacteria smell and switch-out for clean water.
- Be prepared to check/fill the reservoirs daily when you get into mid-flower because the roots will empty a reservoir in 24 hours when they are going full-steam.
- If you are going to fertigate with salt nutrients in a commercial potting mix, I suggest starting off at 1/5 recommend rate, and gradually increase that to train the girls up to about 1/3 recommended rate. I found that both of the strains I grew started to get nursery burn when I went to 1/2 strength. YMMV.
I keep micros perpetually growing in self-watering pots the corner of my tent. What are your thoughts on self-watering pots for micros? Let us know below.

Leave a comment